Installation
Installation Disclaimer
RWD LLC will not be held liable for improper installation that does not strictly adhere to RWD Installation Instructions. It is the sole responsibility of the installer and/or installation company to make available the published installation instructions to all installers. It is also the sole responsibility of the installation company to determine prior to installation if the RWD Extender Trim is a suitable long term trim solution for their particular project. It is recommended that the installer complete a trial use of the RWD Extender Trim when unsure of its successful application on a particular project.
Dark Color DisclaimerIt is common knowledge that dark colors such as black or dark brown colors can be affected by UV rays and high heat temperatures. Dark color PVC trims used on the exterior of a building may warp and can eventually fade and become dull in appearance. Sunlight reflection will also add to the heat being applied to a window. It is for these reasons, RWD LLC will not be held liable for problems arising from the use of its dark color selections.
Installation Instructions

IMPORTANT: Temperature and humidity conditions will affect this product and proper precautions must be taken to ensure a quality bond to window frame whether applying trim to the interior or exterior of the window. 70-90 degree temperature is ideal for the installation of the RWD extender trim. It’s also very important that the RWD extender Trim be stored in an out of the weather location with a temperature below 100 degrees. High humidity levels, rain or foggy weather are poor conditions for installation and should be avoided. Winter time conditions pose many challenges for installation of building materials. In cooler temperatures the installer must take precautions and adhere to the following: Once the installer has cut, fit and has dry run for the proper fit onto the window frame it will be necessary for the installer to peel back a small section of the adhesive liner to determine the tackiness of the adhesive. If the adhesive is not tacky to touch, it will be necessary for the installer to apply a small amount of heat to the liner side of the extender trim with a common electrical heat gun. This will soften the adhesive and allow for adequate adhesion.TIP: If adhesive is very sticky to the touch it will bond adequately to a properly prepared surface.
VERY IMPORTANT: Read #6 for necessary cleaning instructions.
- It is very important that all installers understand the physical and chemical characteristic of our double-coated polyethylene foam acrylic PSA tape. The acrylic based tapes feature an aggressive initial tack, but its final high strength bond is achieved in approximately 24 hrs.
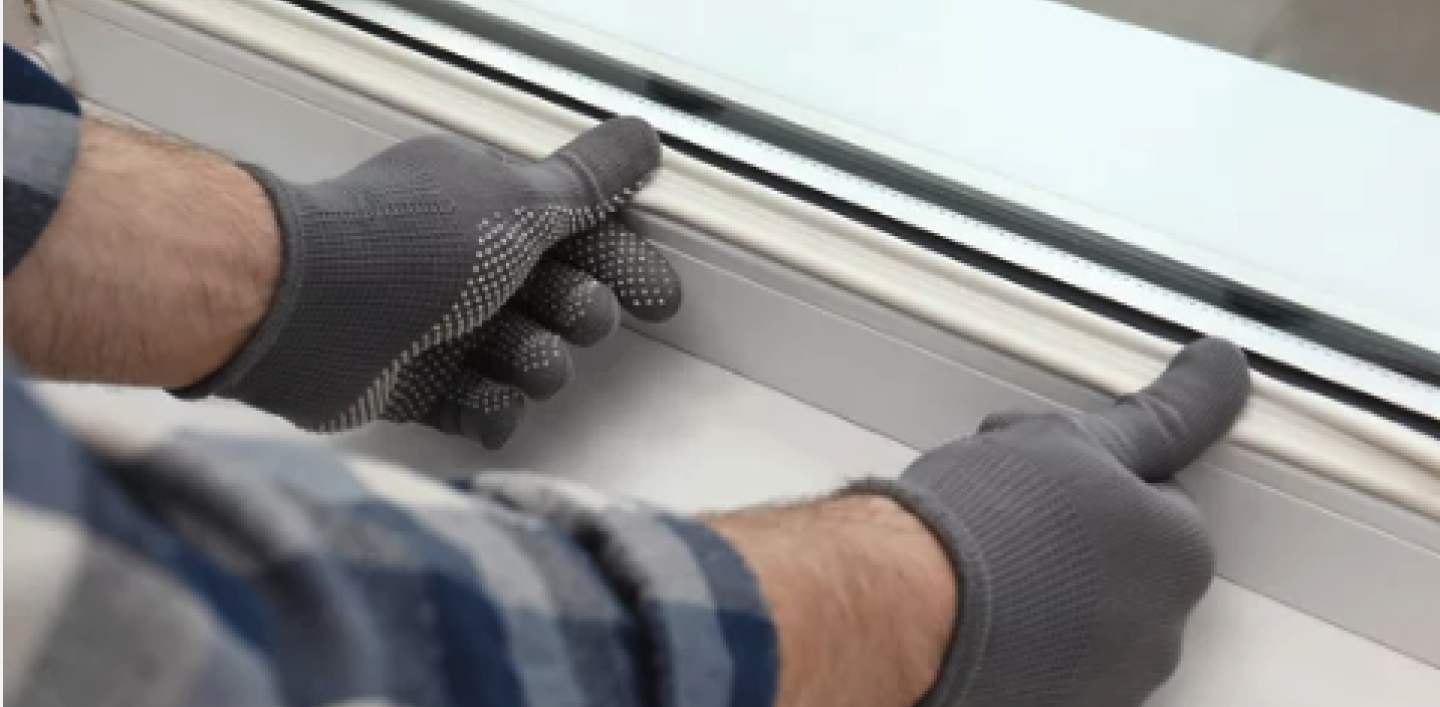
- Properly secure window in opening as per window manufacturers installation instructions with factory sill extender attached and cut back on each side a minimum of 1/2″ or cut back even with beveled projection on mainframe. Regarding windows that require connecting or mulling, the installer shall adhere to the window manufactures mulling instructions. RWD recommends windows be factory mulled. If onsite mulling is necessary the installer should use factory H-mulls or snap in mulls provided thru the manufacture. RWD will not stand behind any applications of mulling or mull covering with the RWD extender trim
- Install insulation (optional) around window in wall cavity. NOTE: Be sure insulation is securely behind face of mainframe. Using expandable foam products may cause back pressure on extender trim prior to the final adhesive bond. Extra caution is recommended when using expandable foams.
- Measure both sides and top separately to determine the correct extender widths and lengths. Allow 1/16″ gap on structure side to allow for expansion and contraction. Allow 3/4″ over lap onto mainframe face on interior or exterior meeting edge of factory sill extender. NOTE: For proper adhesion, extender must fit without binding at all edges and ends. Extender trim cut to long and applied will cause back pressure on the adhesive, resulting in trim releasing from window frame.
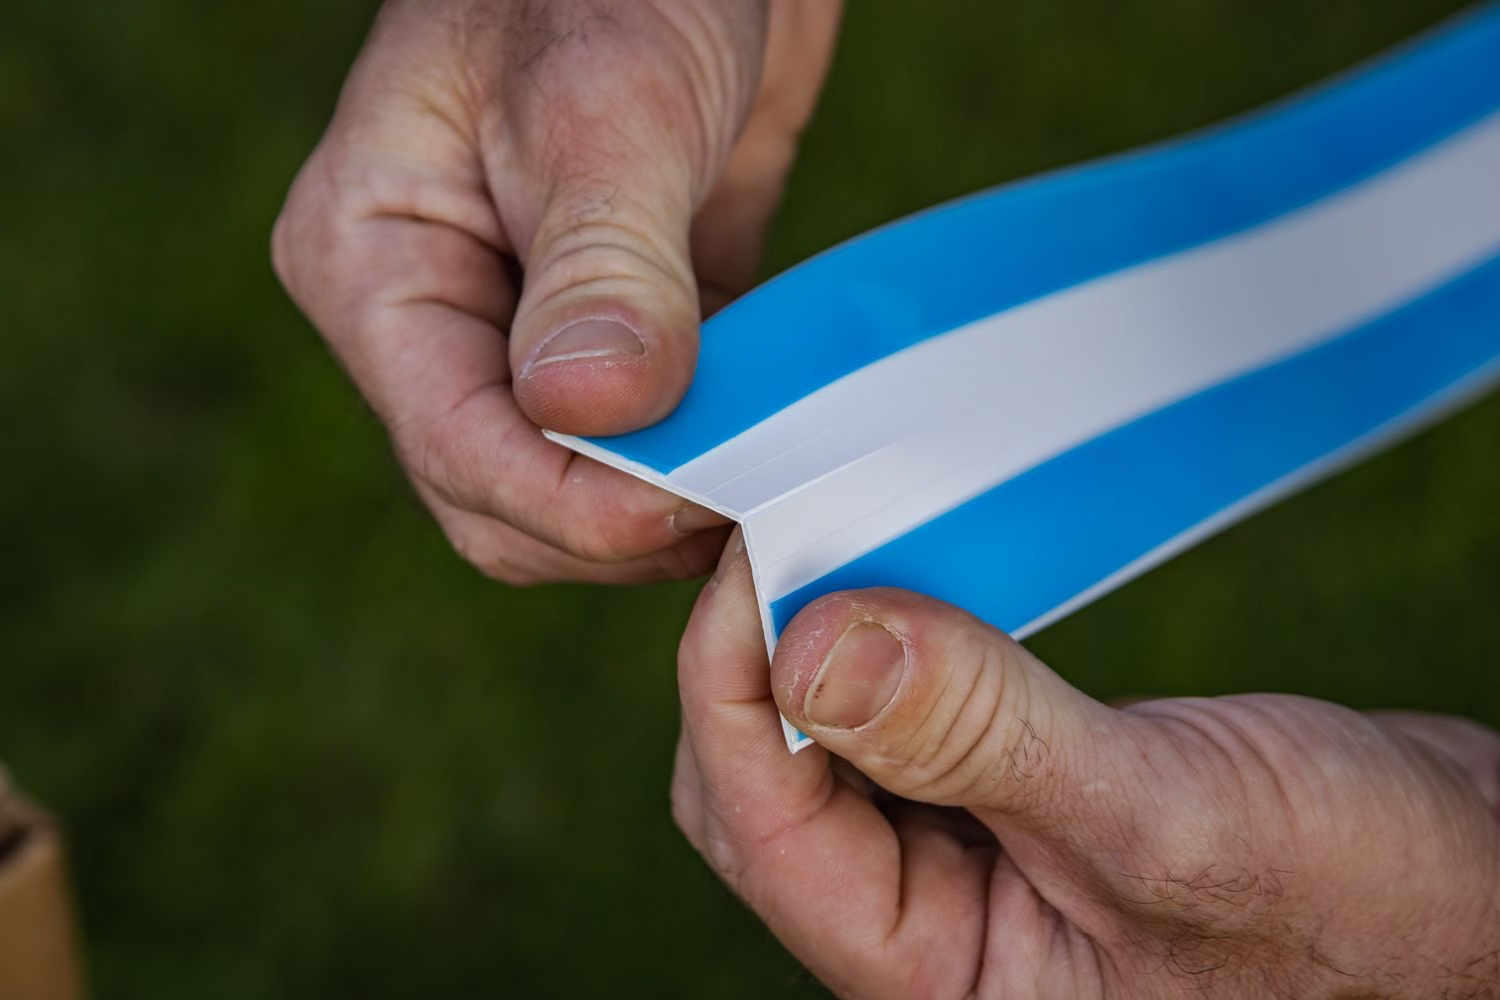
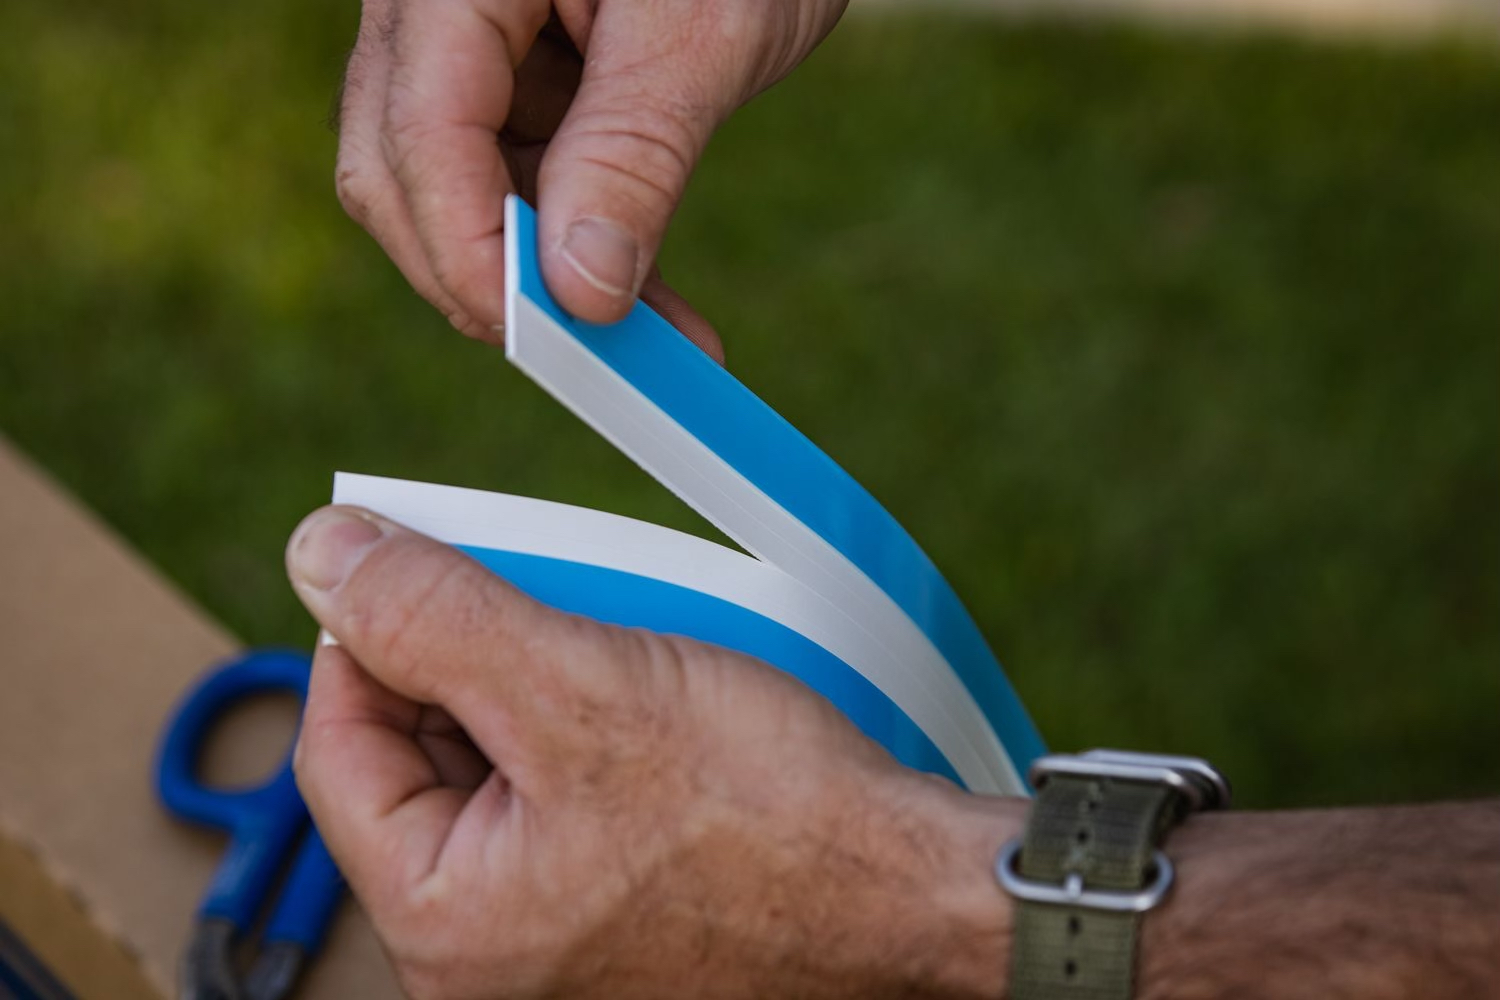
- Cut extenders to length allowing a little extra for re-cutting for miter or square cut corners. NOTE: Never use an overlapping method when using the RWD extender trim. This will cause a improper adhesion bond and jeopardize the integrity of a watertight seal around the window frame. The RWD extender trim has a deep score groove down the center which allows the installer to simply bend and snap apart for 2 equal trim widths. If another width is desired the RWD Extender trim has alternate pre-scored grooves that will need re-scoring to allow the trim to be separated. Sometimes it may be necessary to trim off a very small amount from the edge of the extender trim, in this case use tin snips or score twice along desired pre-scored groove cutting completely thru trim for about 3 inches at one end and remove excess with a tearing motion
- IMPORTANT: Remove any projecting corner welds. Projecting welds will cause the RWD extender trim to improperly set and lay flat onto the window mainframe. Thoroughly clean mainframe surface with a small amount of Denatured Alcohol for optimal results. Installer must allow the alcohol to completely evaporate before applying the RWD extender trim. NOTE: Never use Acetone, Methyl Ethyl Ketone, Mineral Spirits, Lacquer or Oil Thinners or Windex to clean the window frame prior to trim installation. Any cleaner not recommended herein may cause damage to or jeopardize the adhesive bond.
- TIP: Back bend 6″ to 8″ at each end of extender piece by carefully rolling ends backwards with caution not to crease trim. This will help straighten existing rolled memory in extender. This tip will help extender lay down flat at ends resulting in an adequate adhesive bond and provide a nicer looking miter joint.
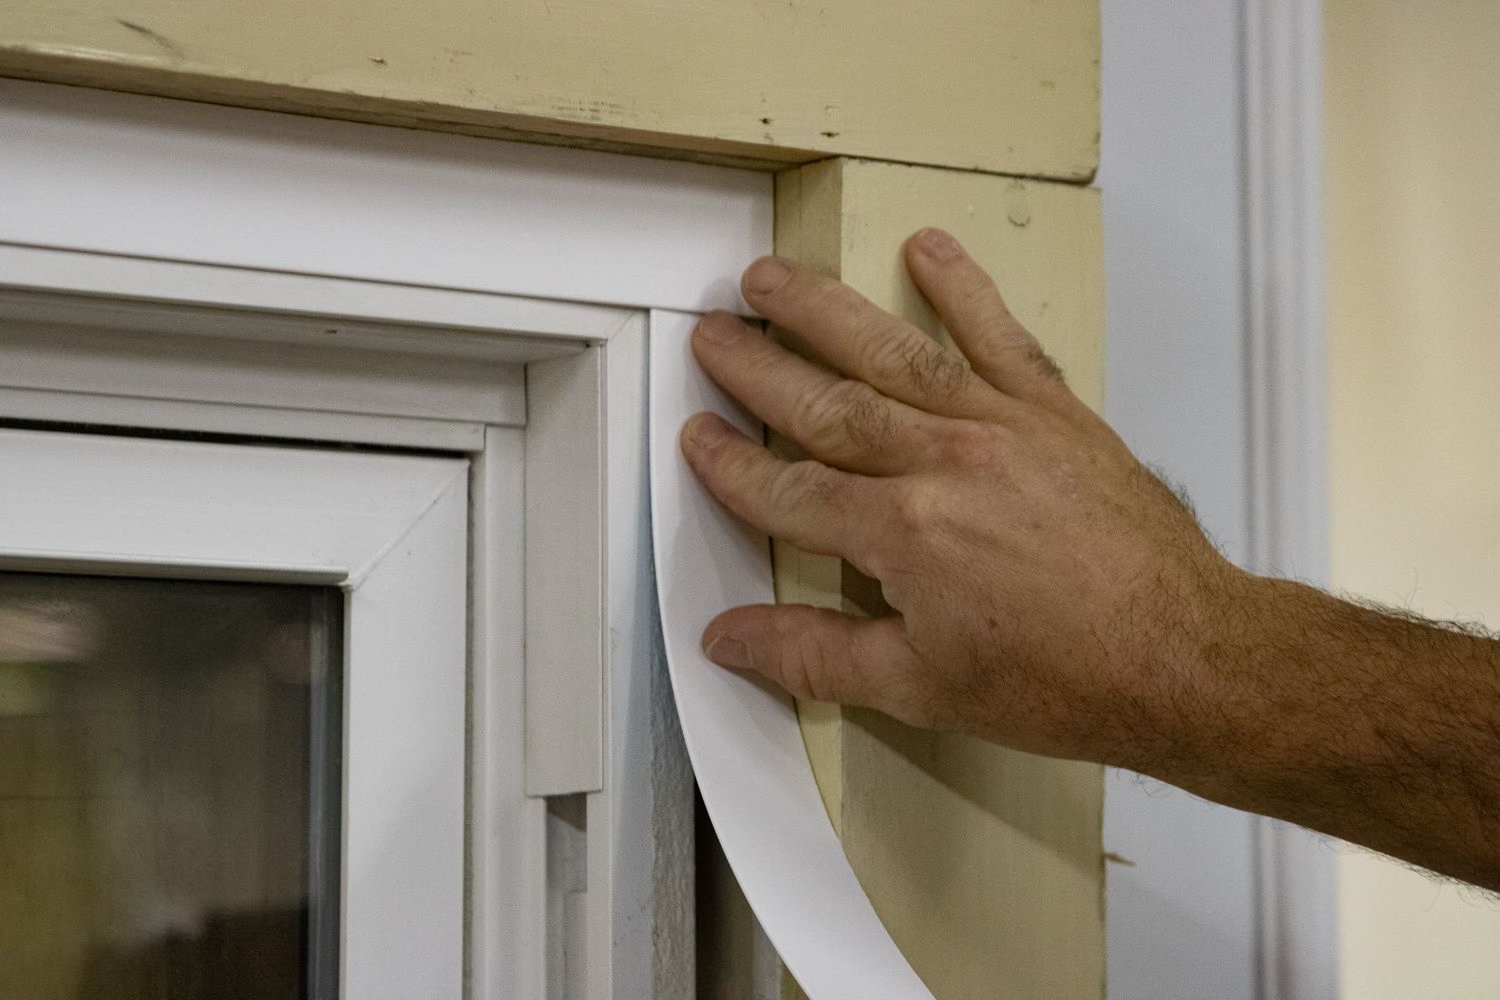
- Always dry run extender before final installation. Install finished rolled edge towards window and cut edge towards structure. Square cut or miter corners at top, install top piece first starting at one end pulling backing back a little at a time while lightly pressing extender down, install sides same as above. NOTE: Wait until you are satisfied with the fit before thoroughly and firmly rubbing all extenders down to mainframe face. For an optimal adhesion bond it is recommended the installer use a small hand held polyurethane seam roller. This tool is highly recommended and can be purchased from RWD Innovative Specialty Trims, LLC. If immediate extender removal is necessary, you may be able to re-use existing piece, if the adhesive foam tears, you will need to re-cut a new piece and apply. TIP: Hold extender in place to check the fit before removing the backing, trim as necessary, once extender adhesive contacts with the window frame, removal may be difficult without damaging extender and adhesion bond.
- Clean entire window, caulk perimeter to structure, and caulk miter and square cuts. IMPORTANT NOTE: It is very important that the installer understands that although the high strength adhesive will adequately bond the extender to a window mainframe, its main purpose is to provide an instant bond so the installer can immediately apply the perimeter caulking to both the window facing, and building finish opening. Depending on the window’s mainframe style, the installer must caulk edge of extender to exterior of mainframe face where extender butts up against beveled projection or screen track. This will ensure long-term adhesion and a weather tight seal. Another option for improved miter or square cut joints would be the application of a vinyl weld seam sealer.